Class 19

More Git and GitHub, Web Publishing

Materials for class on

2024-10-31

Preparation Reading

Agenda

Today we’ll focus on:

  • R projects with git and GitHub
  • Sharing a Quarto-based website on GitHub

Why are we talking about web publishing? You may want to share your analyses with other people! This is a nice way to do so. You can also use these tools to make a personal webpage linking to a portfolio of projects or other project-specific websites.

Illustration by Allison Horst.A basic git workflow represented as two islands, one with "local repo" and "working directory", and another with "remote repo." Bunnies move file boxes from the working directory to the staging area, then with Commit move them to the local repo. Bunnies in rowboats move changes from the local repo to the remote repo (labeled "PUSH") and from the remote repo to the working directory (labeled "PULL").

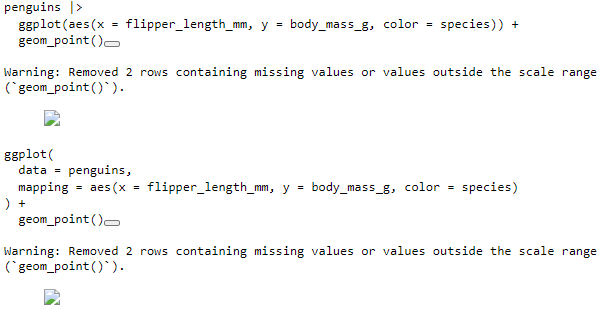
Notes on formats (and assignments)

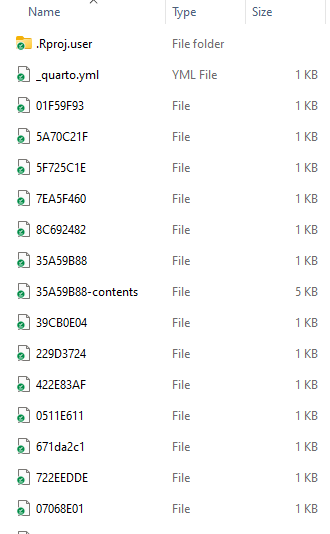
Remember to set your options to not save unnecessary history, etc., to avoid sharing/copying lots of extra files in your .Rproj folder (these may be hidden if you are not displaying hidden files, but they will zip/copy/commit/push!).

Also make sure not to copy those files all into one folder, so that your project folders don’t end up looking like this when you want to share:

many extra unnecessary files in project folder

If you need to share an html report with someone, you need to either share the whole folder (awkward) or use embedded resources, so that the images and style information are included inside the file. Otherwise your beautiful report will end up looking like this:

ugly html page with no plots

Creating a Repo for an Existing R Project

We’ll review the steps for today’s preparation assignment.

Creating a Repo First

You can also create a repository first and then put an R project in it.

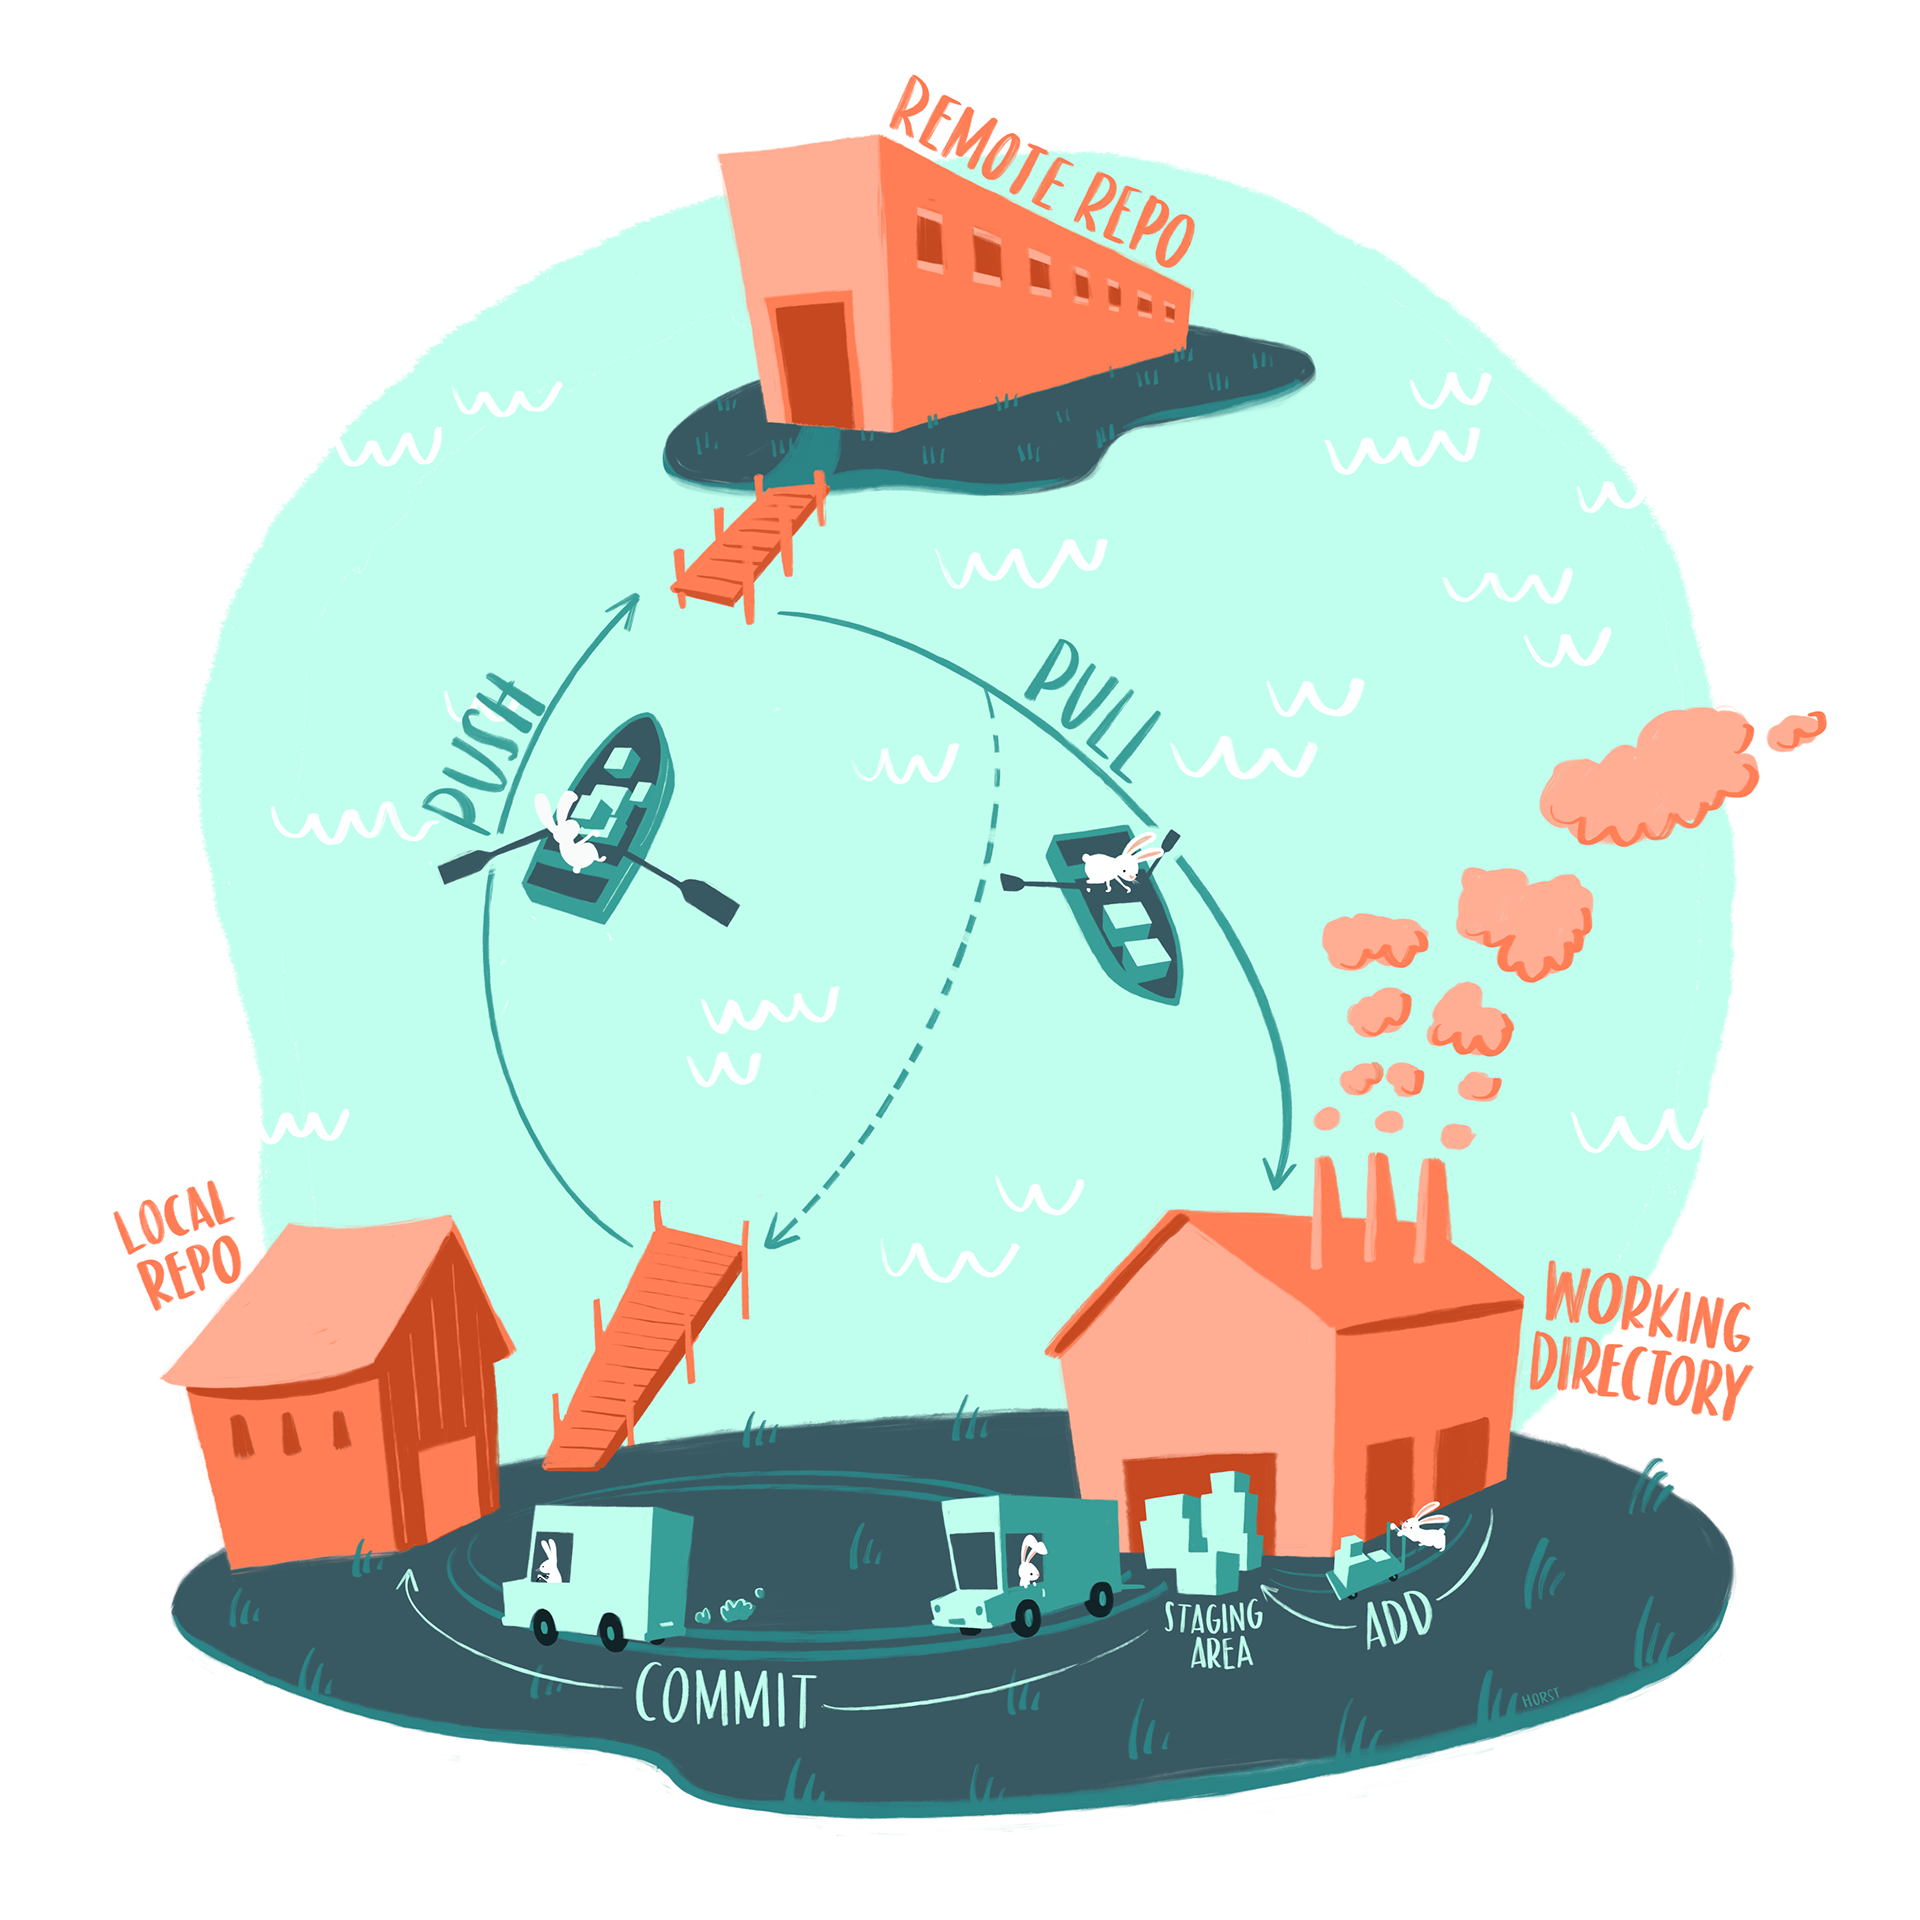
Working with your Repository

We’ll practice the following workflow steps using GitHub Desktop:

  • Committing changes
  • Pushing changes
  • Pulling changes

Then we’ll look at our projects on GitHub and checkout the following:

  • repository visibility (private/public)
  • adding collaborators (sharing private projects - add my account lisalevinson)
  • GitHub pages

Creating a Quarto-based Website

There are various ways to share Quarto documents on the web, but we’ll cover two approaches.

Sharing an Individual Page

If you just want to share an individual document/page, you can do this easily with an existing repository like we made above. There are two main steps:

  1. Create a .nojekyll file in your repository.
  2. Enable GitHub Pages for the repository. (wait a few minutes)

Jekyll is a static website builder that is the default setup for GitHub Pages websites. It will show things like plain markdown files as webpages. You can see the “actions” it takes for example on this repo: https://github.com/lisalevinson/statistical-rethinking-group/actions

For Quarto documents, we render them to html using Quarto, so we don’t want Jekyll to do the rendering. We can disable it by creating the .nojekyll file. If you don’t do this, you will get errors on GitHub.

If you want your page to show up without the filename in the URL, it needs to be named index.qmd, which will create an html file called index.html. That is the default webpage for a folder/directory.

You don’t need anything beyond this for this class, and for sharing individual reports on the web. However, if you want to go further…

Sharing a Full Site

If you want to share what seems more like full, proper website, including things like a blog, homepage, etc., you will want to create a Quarto Website project. This will give you a template site with all of the main ingredients that you need to get started.

Creating a Quarto Website

NOTE: If you want to make a personal website that has a URL like https://username.github.io, you should name your repository username.github.io. Other repos will have that name followed by a forward slash and then the repo name. We’ll look at some examples.